Making Computer Science: CS Education
This serves as my journal entry for the first module of the Making Computer Science course (CS 181AL at HMC).
Pre-Unit Prompt
What previous experience do you have with the topics in this unit?
I have experience with programming, CAD, and electronics. But I have never used e-textiles, and I have never directly used a 3D printer. I have a lot of experience asking students to 3D print things, and I am excited to do it myself.
What do you want to learn during this unit?
I want to learn how to use the HMC Maker Space and better complete projects with physical components. I have a lot of designs and project ideas, but they do not come to fruition without a student doing to work. I also want to involve my 7 year old daughter so she can see me struggle and then overcome (as well as experience the maker space—I’ll ask Kim about rules for bringing my daughter along).
What will your learning look like in this unit?
Enthusiasm, joy, and frustration. I am very excited for this course, and the drive that it will give me to work on projects that have been on my backlog for a long time. Many projects end up on my backlog because I am not confident enough to get into the maker space.
How will you demonstrate your learning?
I am going to journal using my blog. I will document my process, failings, and epiphanies. Journal entries might include videos.
Final Project Ideas
I have the following projects in mind. I am not sure while I will complete for the final project in this course.
- Roll-up/sandwich case for my folding bicycle.
- A e-textile for my daughter’s Halloween costume.
- A rotary inverted pendulum.
- Refurbishing an old globe.
- Creating an electronic sign for my office.
- An autonomous ground vehicle.
- Casting parts using resins.
- Casting parts using bronze.
- Embroidering a hat.
- Astronomical telescope.
- Magnetic wool electronics case.
3D-Printing
I started by completing all HMC Maker Space quizzes. I recommend completing these even if you don’t see yourself using that particular tool. It was a good way to come up with ideas for what is possible.
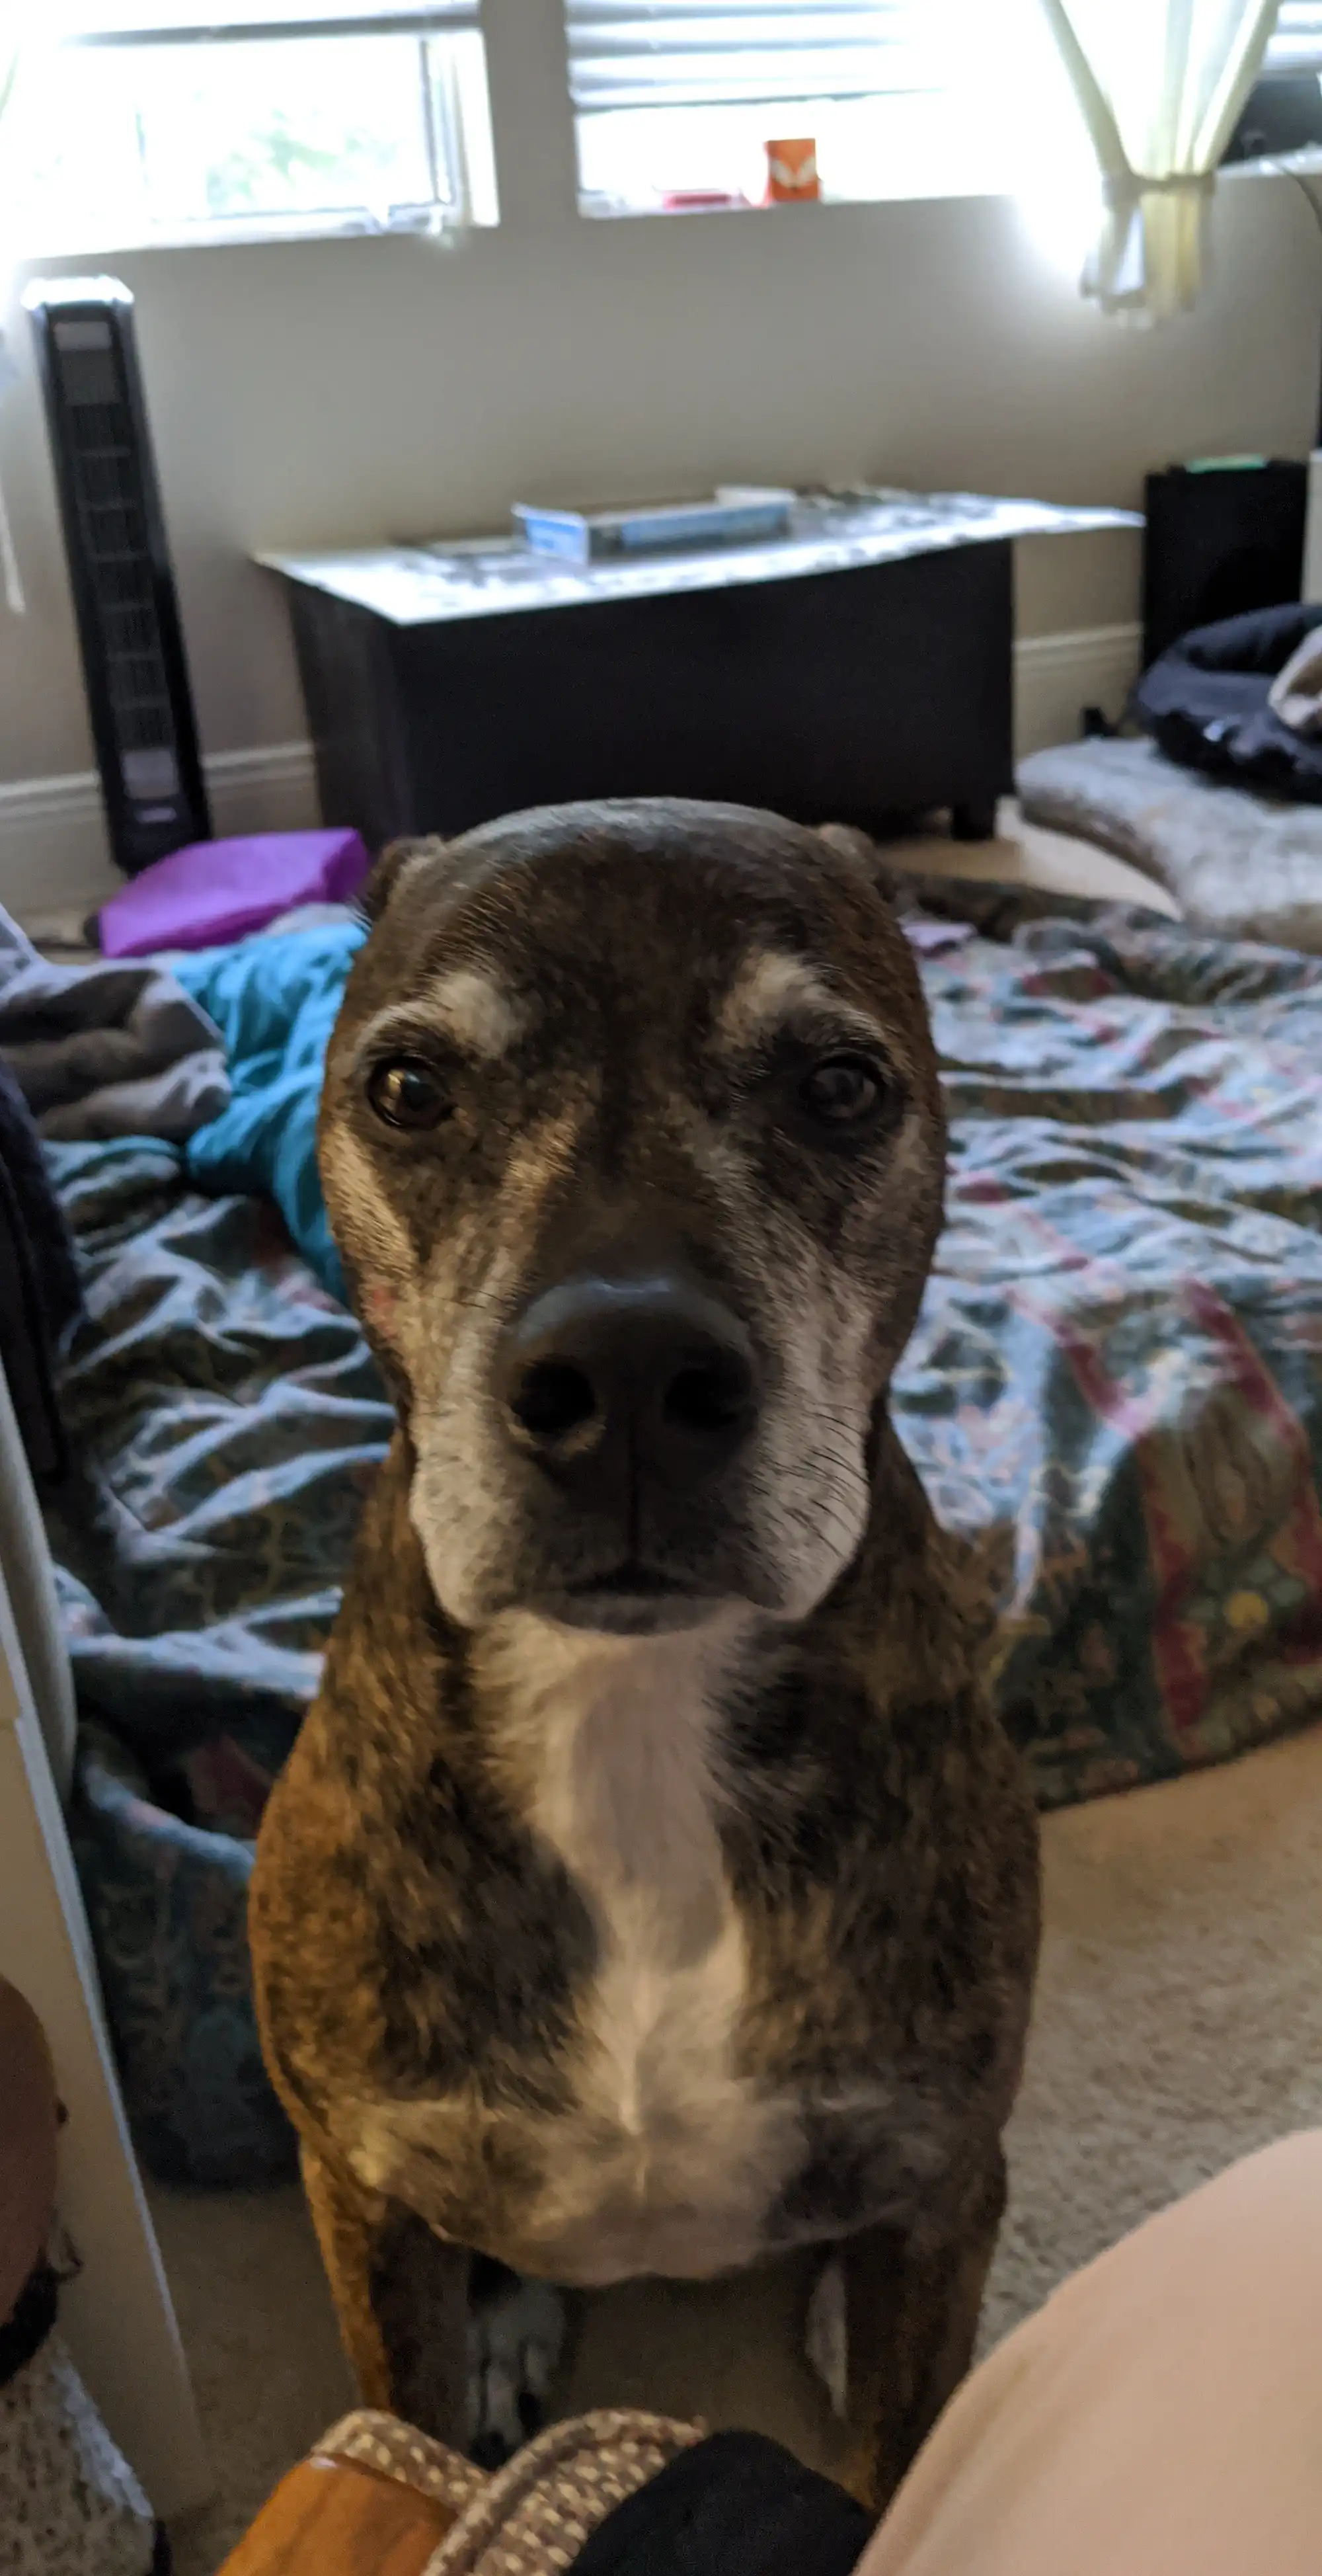
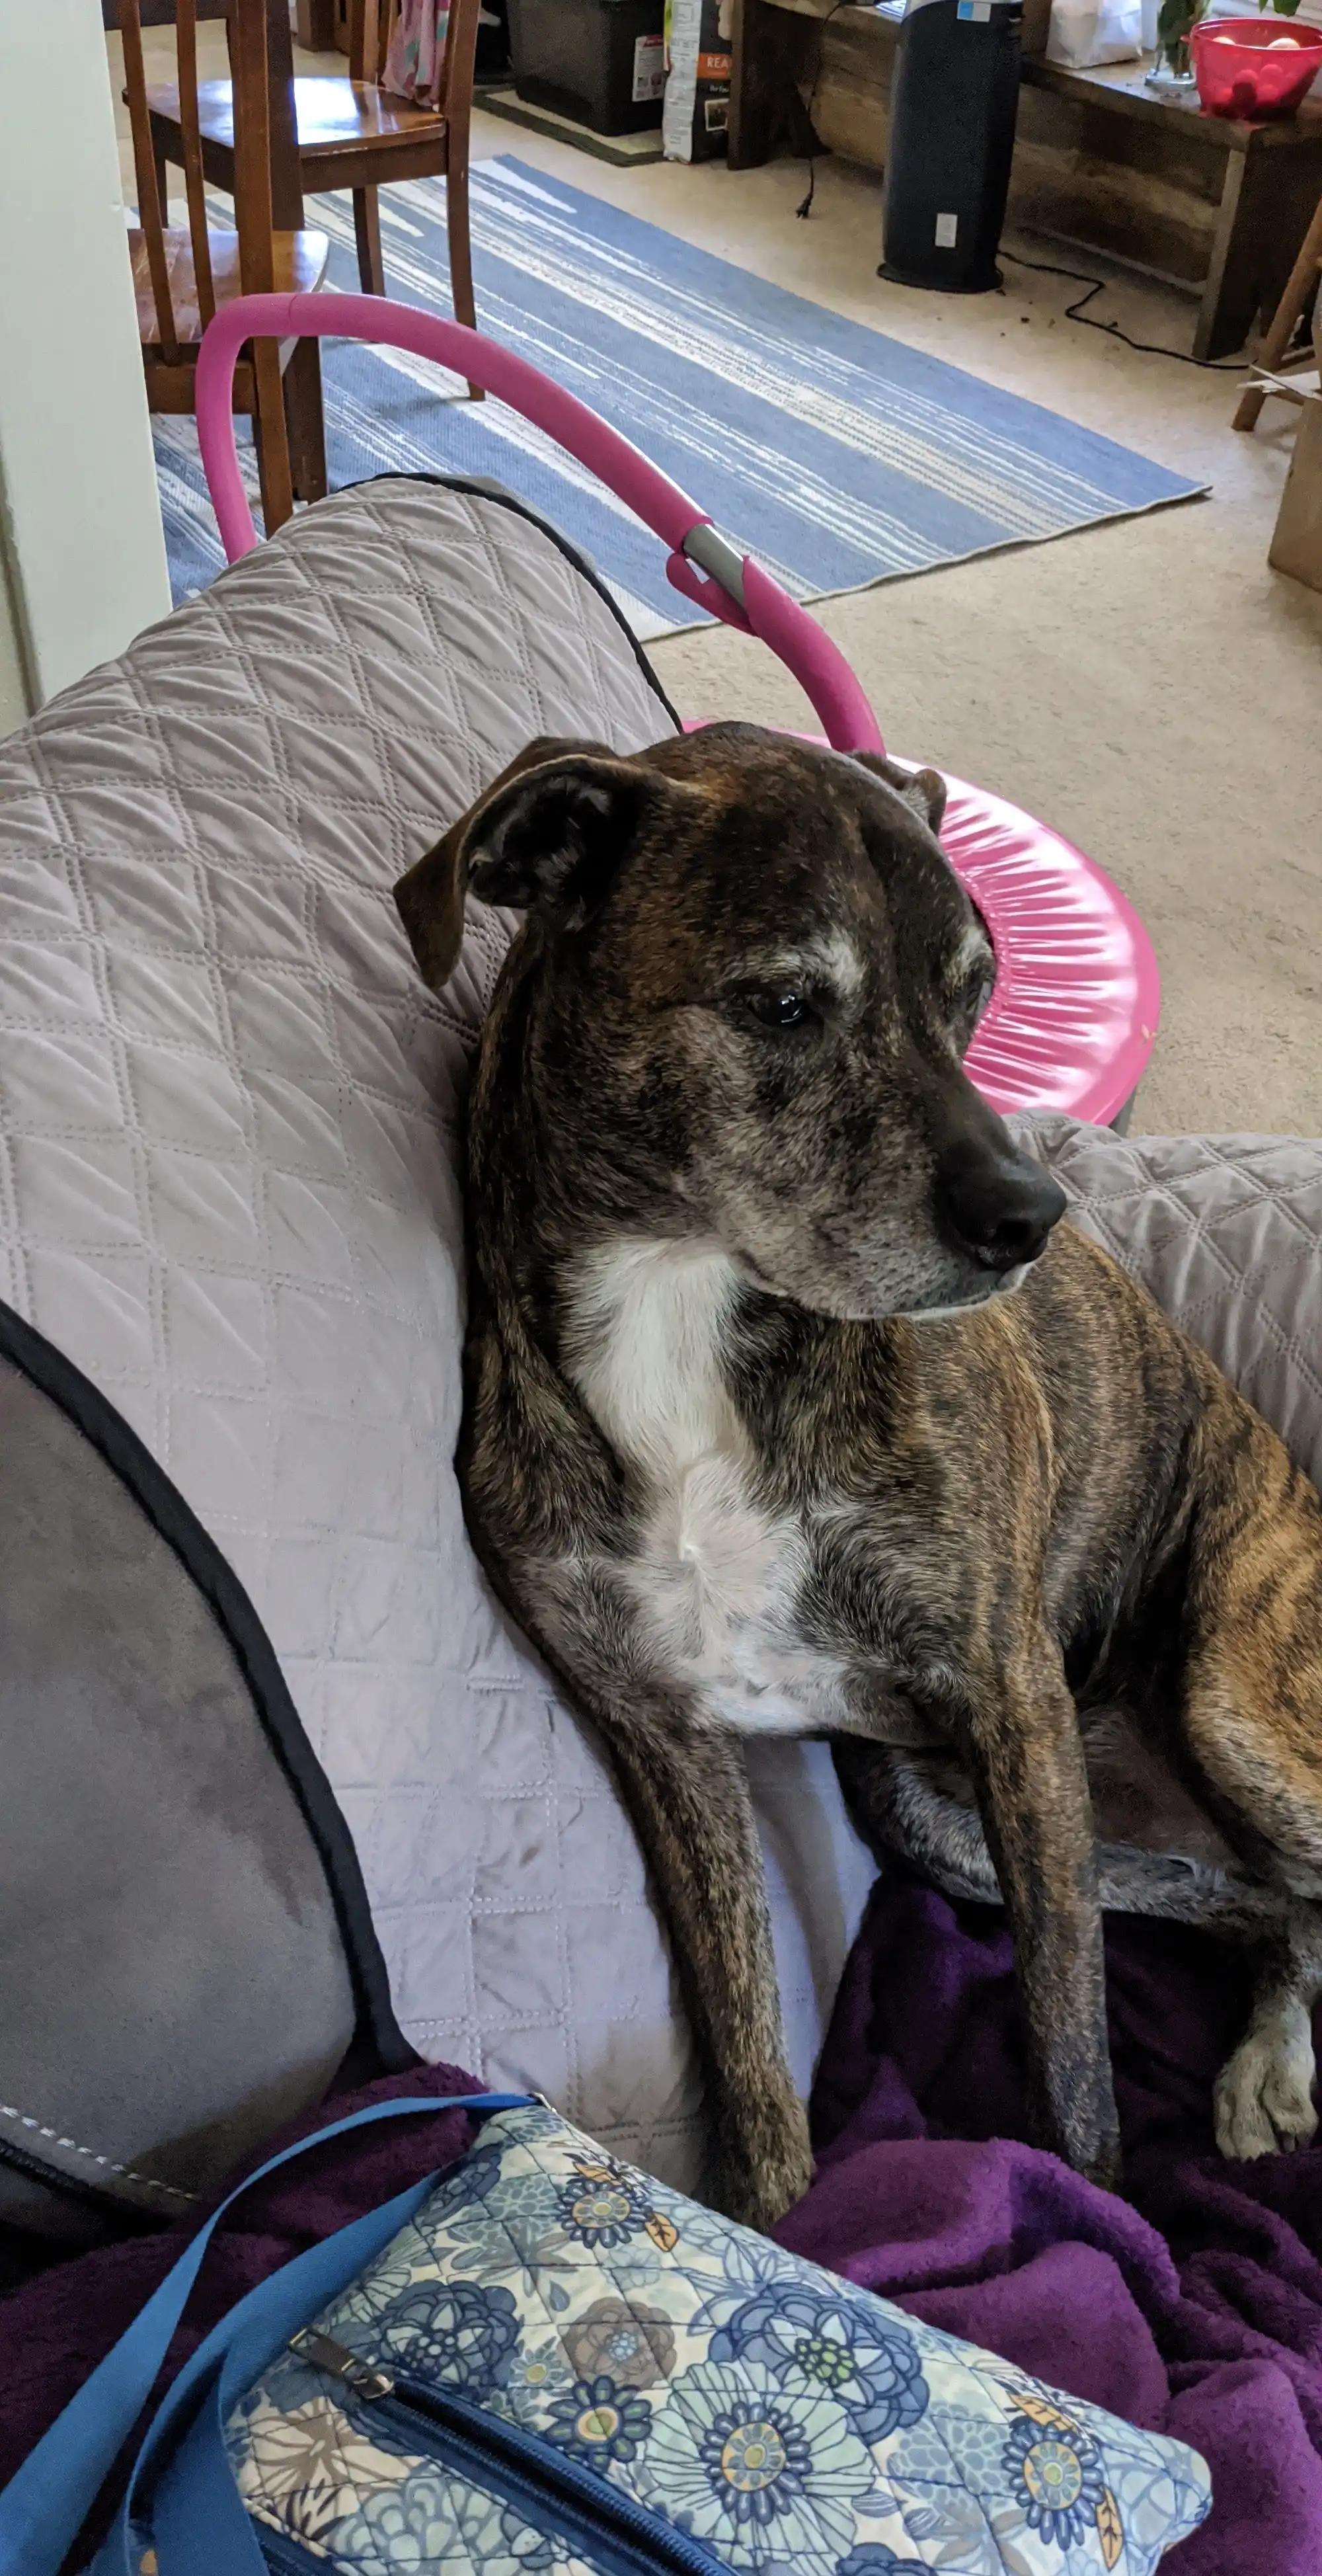
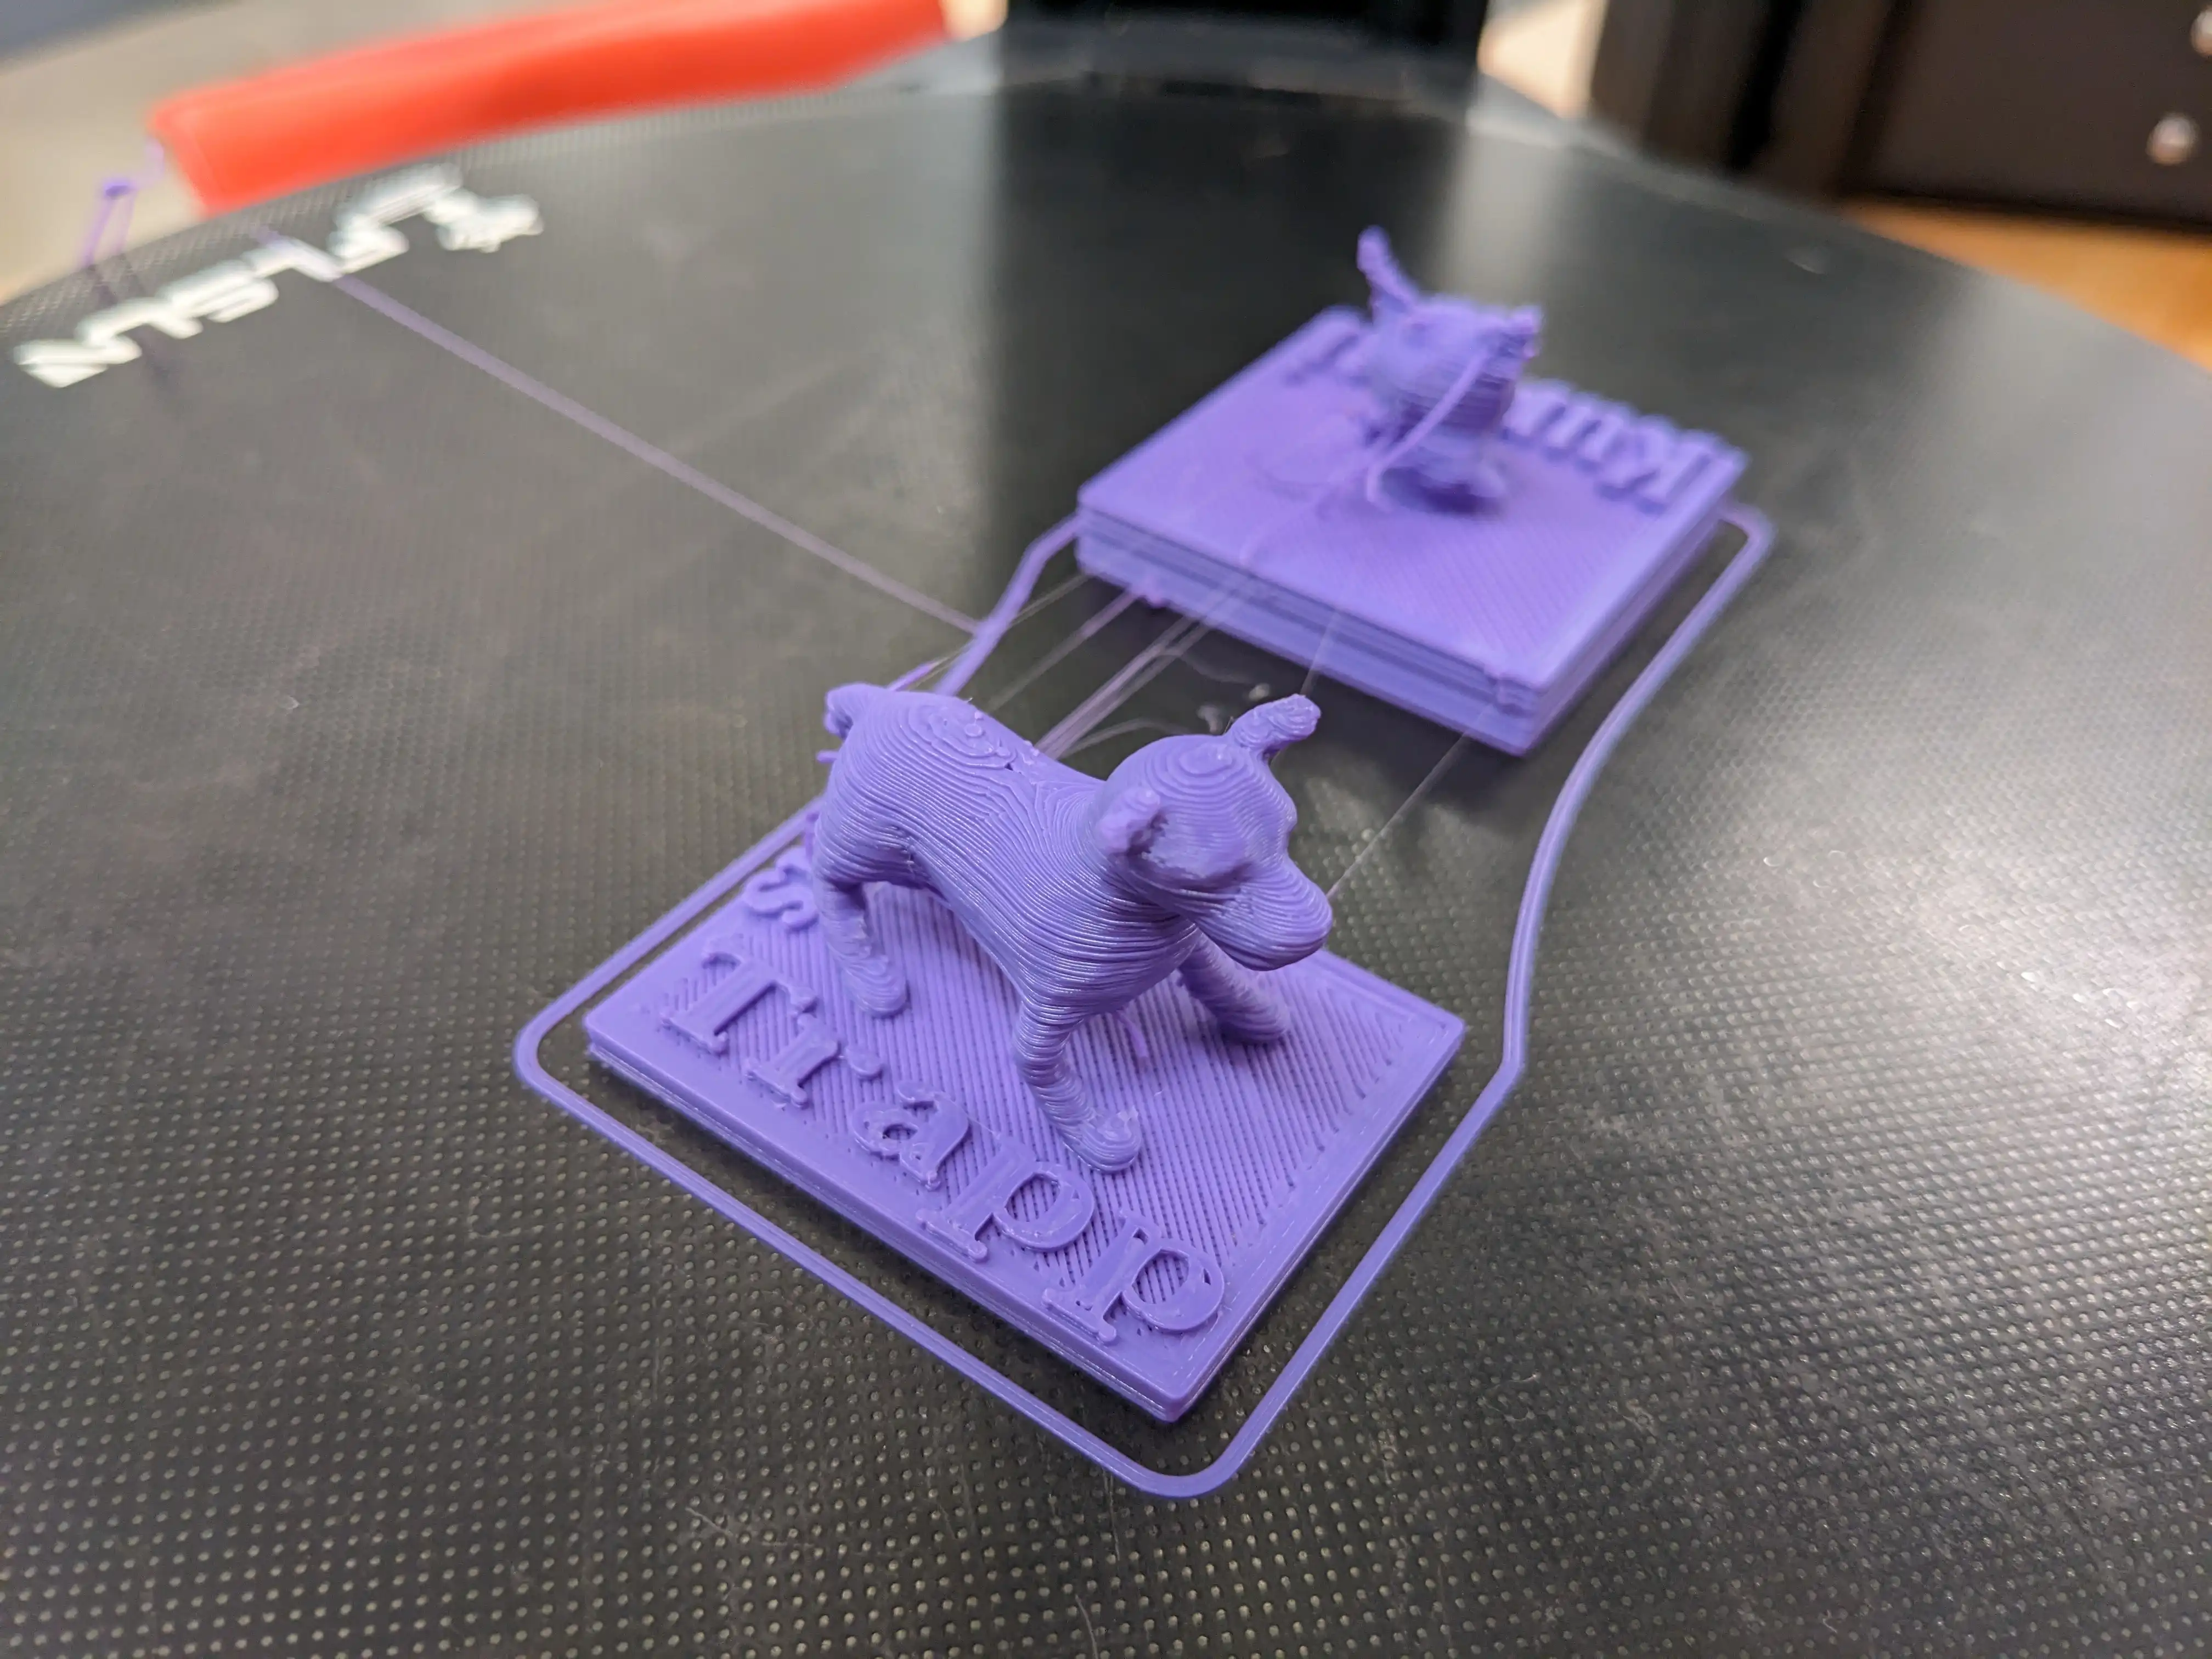
For the 3D-printing assignment, my daughter and I decided to print some of her stuffed animals. We modeled four toys, but I’ll focus just on one here: a fake version of our dog Trapp.

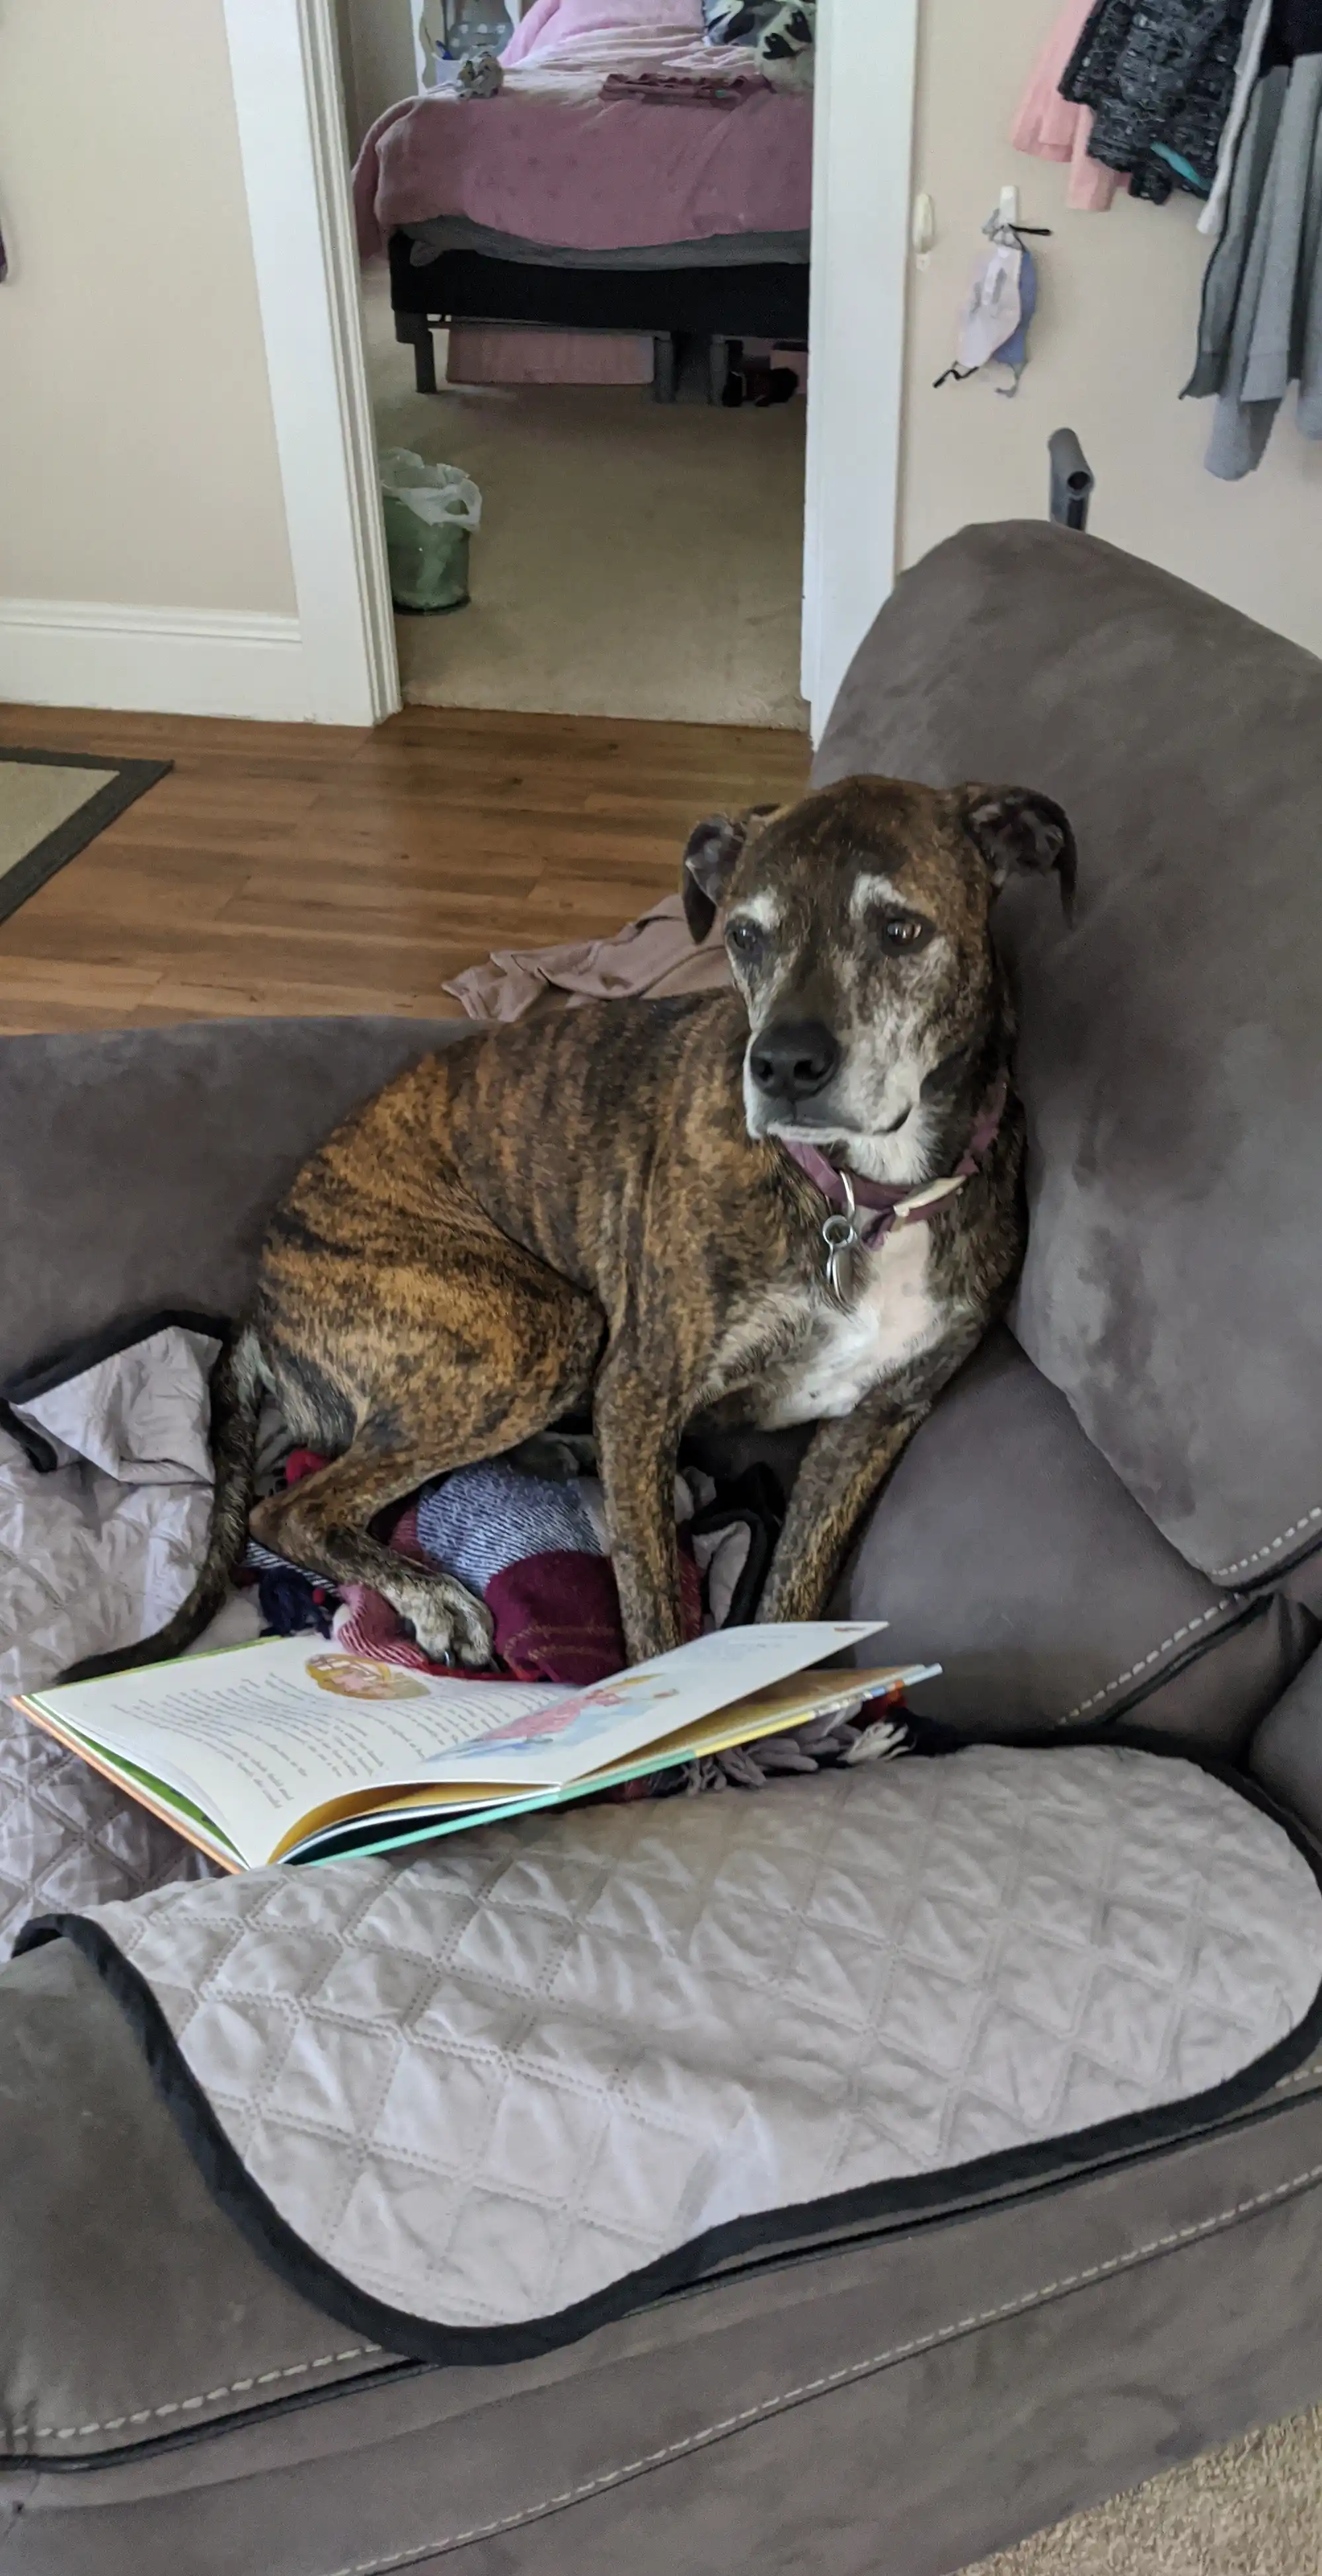
Here is the stuffed version of Trapp, named Zeus.

We used Polycam on an iPad to create a mesh of Zeus from a series of photos.
We exported the mesh as an STL and imported it into Tinkercad. In Tinkercad, we removed some visual artifacts and added a base and name plate.
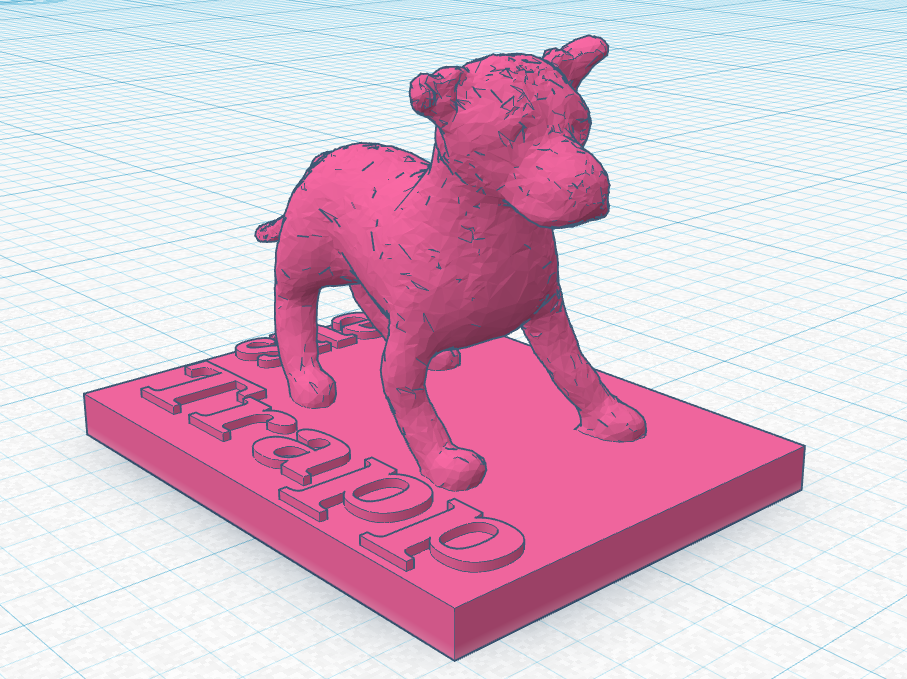
Finally, we printed the model using the FLSUN SR 3D printer
Future improvements:
- The mesh needs supports under the belly and tail.
- Sand the final part.
E-Textiles
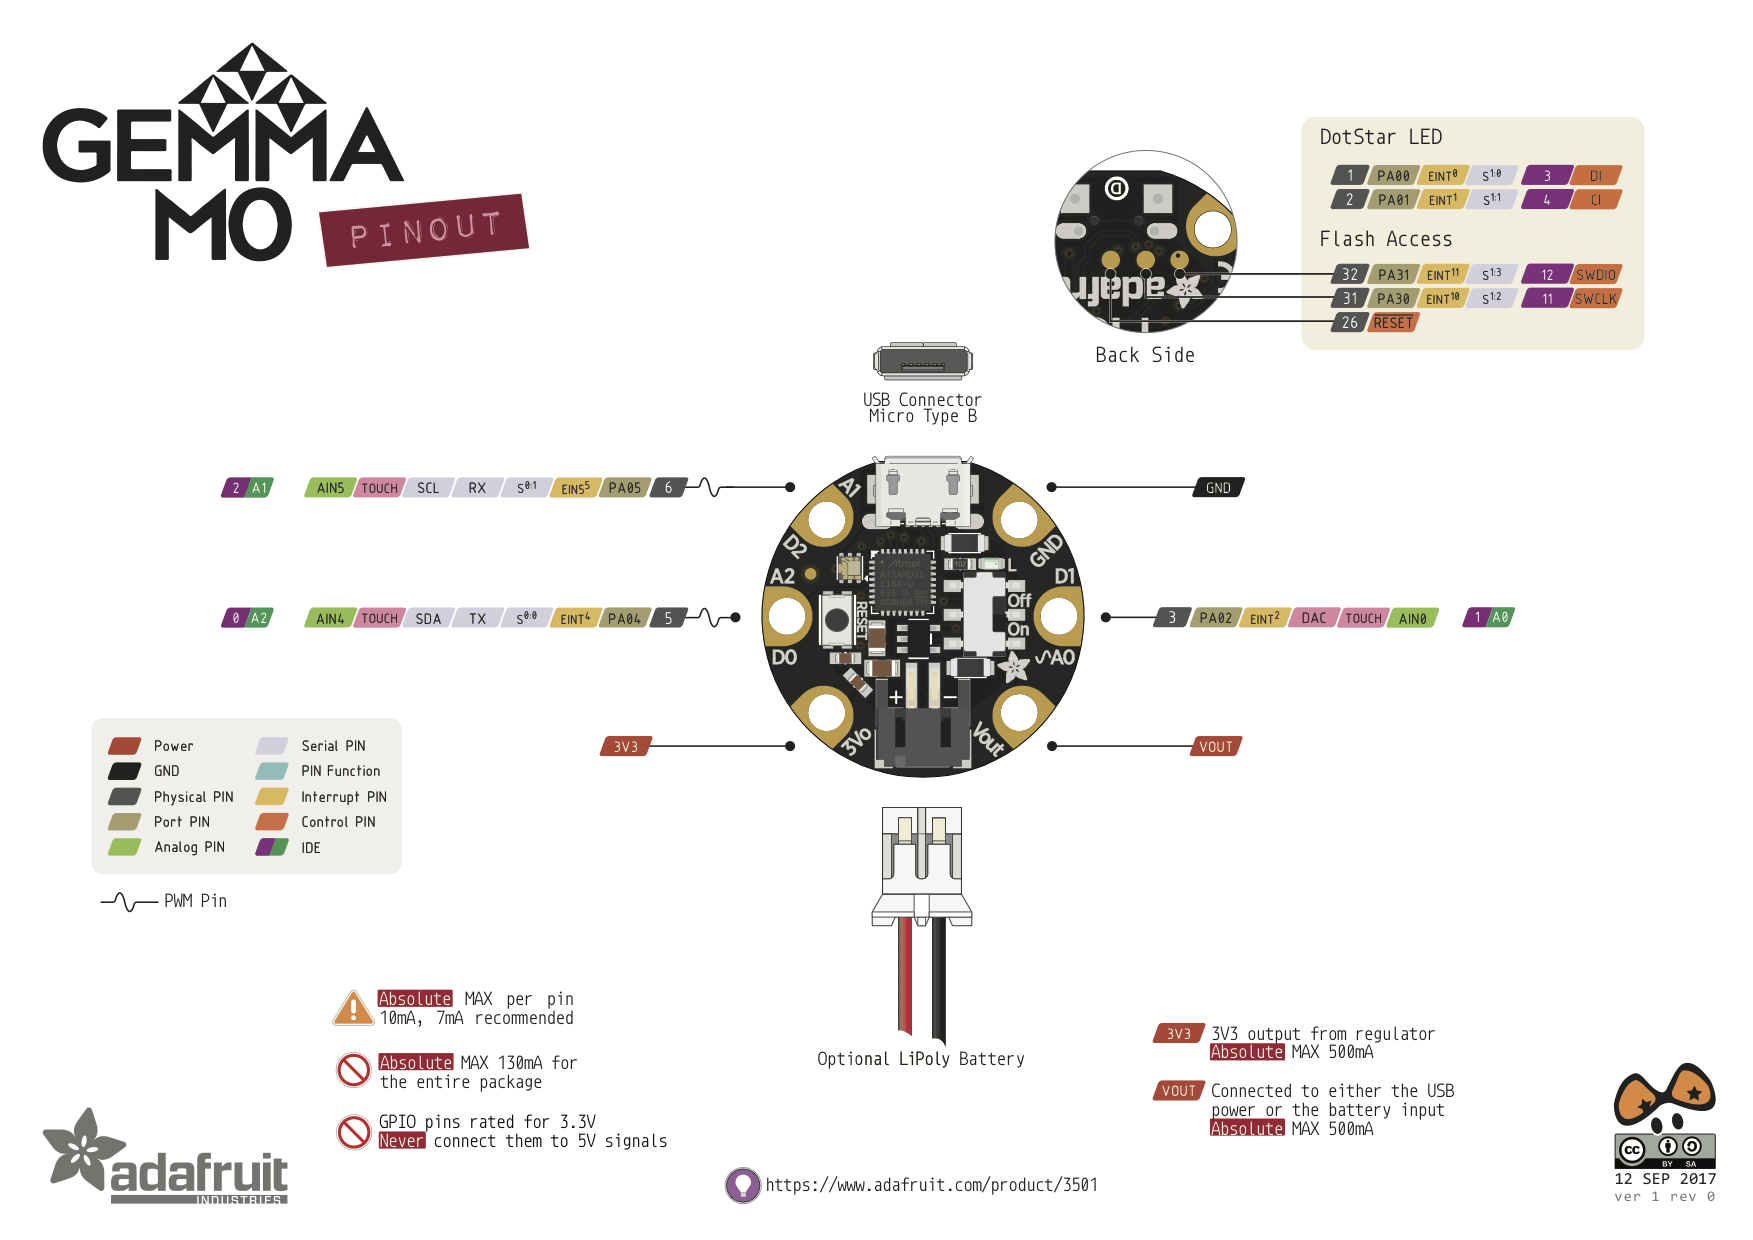
For the e-textiles project we were asked to play around with the Adafruit Gemma M0. The following diagram was extremely helpful in deciding how to use the available pins.
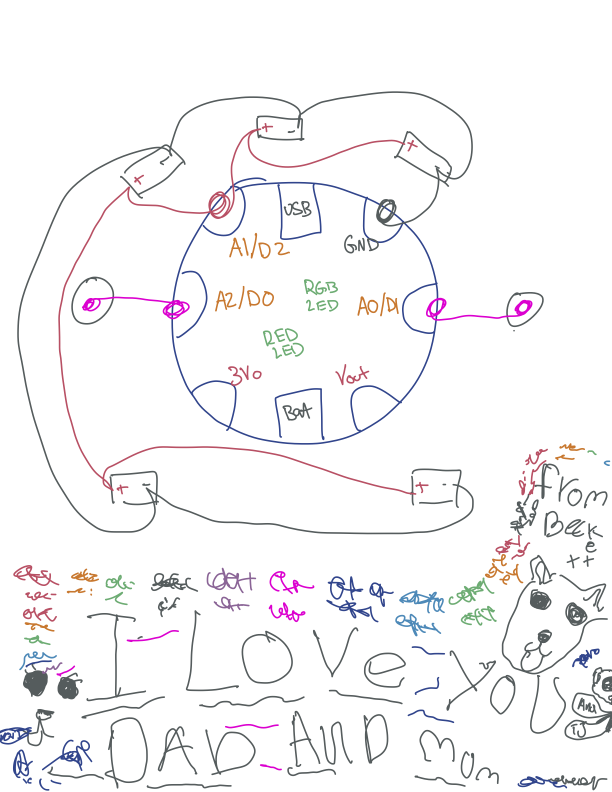
Wiring Diagram
Here is my wiring diagram for the project my daughter and I decided to build (along with some extra doodles courtesy of my daughter).
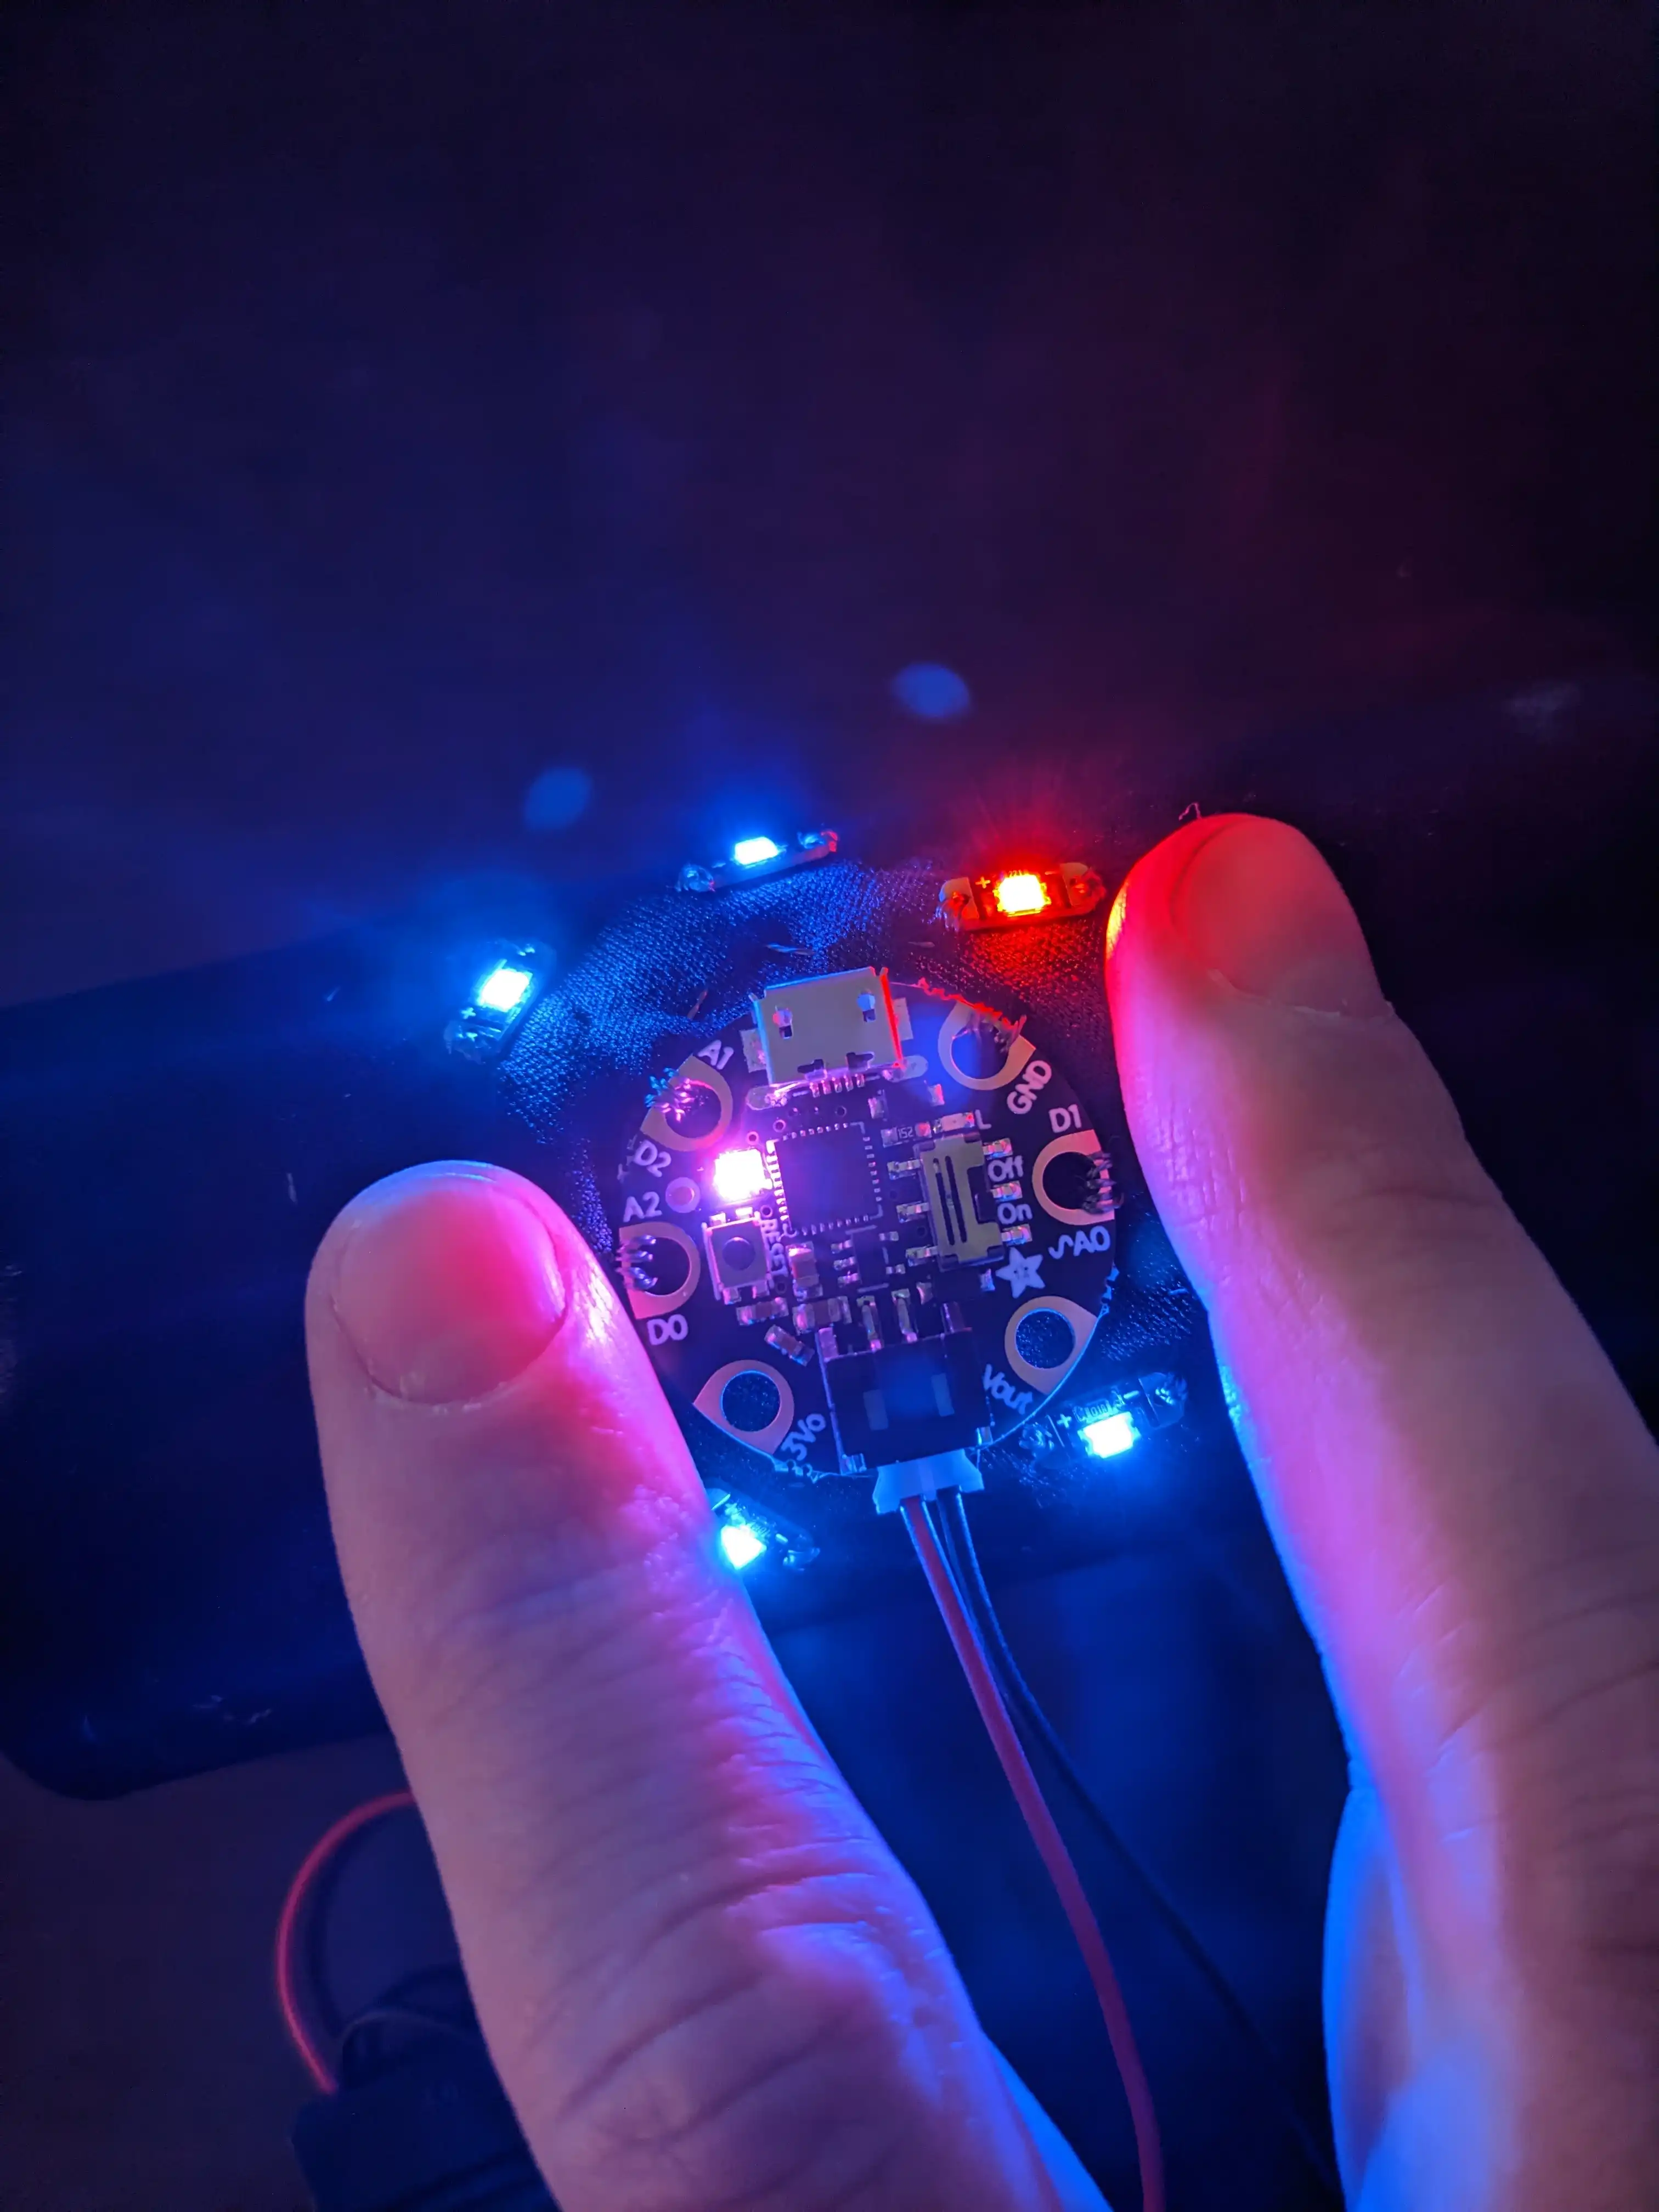
And here is the final working product.
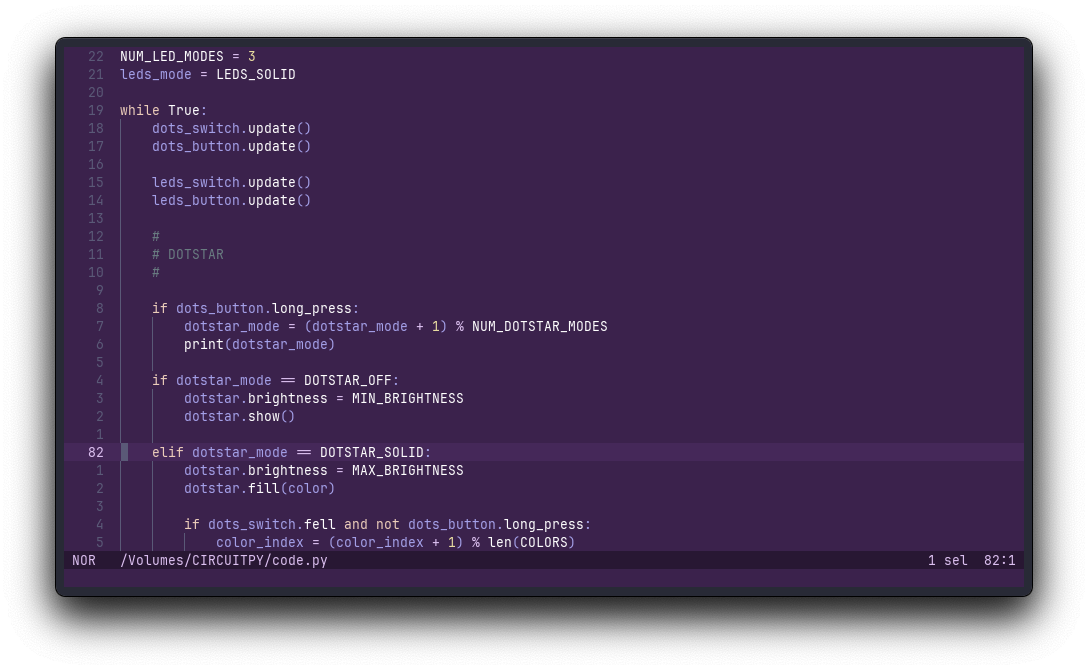
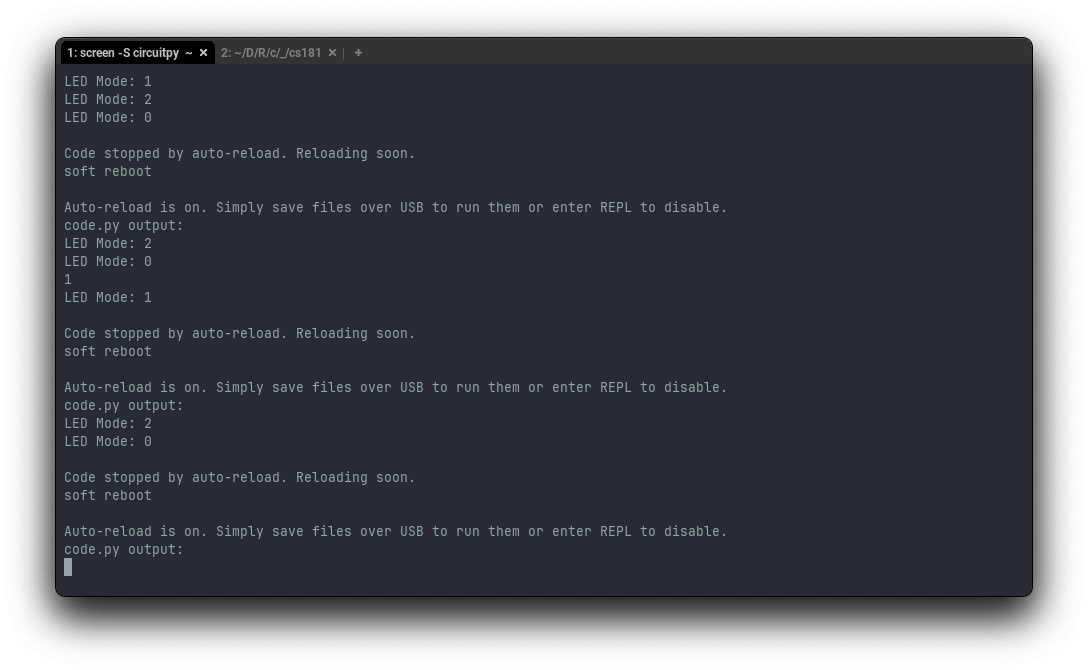
Editing and Running Code
I tried the Mu Editor for a bit, but it was not to my taste. Instead I used screen at the terminal to handle communication, and Helix as the text editor. Here are the commands I would execute to get started after plugging in the Gemma M0.
# Start screen in one terminal (CTRL-A D to detach; CTRL-A K to kill)
screen -S circuitpy /dev/tty.usbmodemNUMBER

# The following will reattach to the screen session if it is already running
screen -r circuitpy

# Start helix in another terminal
❯ hx /Volumes/CIRCUITPY/code.py
I would change NUMBER to whatever appears in the autocompletion list.
Here is an image of this setup:
The recommended way to interact with CircuitPy was through the MacOS Finder window. I had trouble with running out of space using this method.

I found it easier to use the terminal. Here are some useful commands:
# Copy a library folder or file to the device
❯ cp -rX FOLDER /Volumes/CIRCUITPY/lib/
❯ cp -X FILE /Volumes/CIRCUITPY/lib/

# Copy the script to the host as a backup
❯ cp /Volumes/CIRCUITPY/code.py .
# Start from scratch on the Gemma M0
Code stopped by auto-reload. Reloading soon.
soft reboot

Auto-reload is on. Simply save files over USB to run them or enter REPL to disable.
code.py output:
Traceback (most recent call last):
  File "code.py", line 65, in <module>
KeyboardInterrupt:

Code done running.

Press any key to enter the REPL. Use CTRL-D to reload.

Adafruit CircuitPython 8.2.6 on 2023-09-12; Adafruit Gemma M0 with samd21e18
>>> import storage
>>> storage.erase_filesystem()
# Check disk usage
❯ duf /Volumes/CIRCUITPY/
╭─────────────────────────────────────────────────────────────────────────────────────────╮
│ 1 local device                                                                          │
├────────────────────┬───────┬───────┬───────┬─────────────────────┬───────┬──────────────┤
│ MOUNTED ON         │  SIZE │  USED │ AVAIL │         USE%        │ TYPE  │ FILESYSTEM   │
├────────────────────┼───────┼───────┼───────┼─────────────────────┼───────┼──────────────┤
│ /Volumes/CIRCUITPY │ 47.0K │ 13.0K │ 34.0K │ [##........]  27.7% │ msdos │ /dev/disk2s1 │
╰────────────────────┴───────┴───────┴───────┴─────────────────────┴───────┴──────────────╯
# Check file sizes
❯ dust -c /Volumes/CIRCUITPY/
  0B     ┌── no_log                │                                               █ │   0%
512B   ┌─┴ .fseventsd              │                                               █ │   2%
512B   ├── boot_out.txt            │                                               █ │   2%
3.5K   ├── code.py                 │                                          ██████ │  12%
1.0K   │ ┌── adafruit_ticks.mpy    │                                 ░░░░░░░░░░░░░██ │   3%
1.5K   │ ├── adafruit_dotstar.mpy  │                                 ░░░░░░░░░░░░███ │   5%
2.5K   │ ├── adafruit_debouncer.mpy│                                 ░░░░░░░░░░█████ │   9%
3.0K   │ ├── adafruit_pixelbuf.mpy │                                 ░░░░░░░░░░█████ │  10%
8.5K   ├─┴ lib                     │                                 ███████████████ │  29%
 29K ┌─┴ CIRCUITPY                 │████████████████████████████████████████████████ │ 100%
And here are some commands for automatically managing the device using circup:
conda activate cli           # Activate an environment in which to install a utility
python -m pip install circup # Install the circup utility
circup list                  # List outdated packages on the device
circup install --auto        # Automatically download and install missing packages
circup freeze                # List installed packages
Gemma M0 Project
The project is idea is pretty simple. My daughter wanted an arm band on which she could control the lights. Here is the setup we coded:
- Controlling the onboard RGB LED
- A long press will cycle through modes: OFF, GLOW, ON, TOUCH, and CYCLE
- A short press in GLOW mode will cycle through colors
- A short press in ON mode will cycle through colors
- A short press in TOUCH mode will turn the LED on and off
- Controlling external LED sequins
- A long press will cycle through modes: OFF, ON, and TOUCH
- A short press in TOUCH mode will turn the LEDs on and off
Useful documentation:
Future improvements:
- Adding a fading mode to the external LEDs using pwmio
- Dimming with the DotStar is a bit finicky—it is not as smooth as I think it should be. I might need to change the dimming range and update frequency.
- Solder snaps to the board so that it can more easily be removed.
- Add an indication when a long-press is recorded (flash the LEDs, for example).
Reflections
I read the articles and watched the video listed under resources. I did so before I realized there would be a reflection section of the journal entry. Luckily, I am auditing the course so I am giving myself a pass on having a write-up this time.
Post-Unit Prompt
Look back at your pre-unit prompt. To what extent did you learn the things you said you wanted to during this unit?
I am very pleased with the time I spent in the maker space and the two projects that I completed (with the help of my daughter). I accomplished the learning objectives I set for myself.
Did you spend (at least) 6 hours a week on focused work for this class?
Yes, easily. Time goes quickly working with the 3D printer and electronics.
In what ways did your learning look like you expected? In what ways did things go differently?
Surprisingly, less frustration than I expected. I was pretty lucky with my 3D print based on what I’ve seen on Discord. Otherwise, I am a “seasoned” enough student to know what to expect.
Reflect on your experience sharing your work with others. How did it feel? Did you get ideas you hadn’t thought of before?
I really enjoyed listening to everyone discuss their projects. I had ideas for other projects, but I did not have new ideas for my own project based on my time to share.
What new ideas, questions, or topics for learning do you have in mind at the end of this unit? Are there things you started here that might be the foundation for a final project?
I learned that I should temper my expectations for the 3D printers. It is probably best to focus on simple designs that can be quickly iterated upon. I have some solid ideas for my final project, and they have not changed just yet.